
These two programs send all received data when either there is no space available in the buffer or you press the enter button in the UART terminal. There is one LED to indicate data transmission.
There are one Assembly and one C codes available, which are completely identical. In the Keil compiler, C code costs 290 Bytes while Assembly code costs 120 Bytes.
;8051 ASSEMBLY CODE
;UART DATA REPEATER

ORG 00H
	SJMP START
ORG 23H
	JBC TI, INTERRUPT_OUTGOING
	SJMP INTERRUPT_INCOMING
ORG 30H
START:
	ACALL SETUP_INCOMING
	MOV TMOD, #20H
	MOV TH1, #0FDH	; 9600 BAUD RATE
	MOV SCON, #50H
	MOV IE, #90H
	SETB TR1
WAIT:
	SJMP WAIT
INTERRUPT_INCOMING:
	JNB 20H, INTERRUPT_CANCELED_INCOMING
	MOV @R0, SBUF
	CLR RI
	CJNE @R0, #0DH, CONTINUE_INCOMING
	MOV @R0, #0AH
	ACALL SETUP_OUTGOING
INTERRUPT_OUTGOING:
	JB 20H, INTERRUPT_CANCELED_OUTGOING
	MOV SBUF, @R0
	CJNE @R0, #0AH, CONTINUE_OUTGOING
	ACALL SETUP_INCOMING
	RETI
CONTINUE_INCOMING:
	CJNE R0, #7EH, CONTINUE_OUTGOING
	MOV 7FH, #0AH
	ACALL SETUP_OUTGOING
	SJMP INTERRUPT_OUTGOING
CONTINUE_OUTGOING:
	INC R0
	RETI
INTERRUPT_CANCELED_INCOMING:
	CLR RI
INTERRUPT_CANCELED_OUTGOING:
	RETI
SETUP_INCOMING:
	CLR P2.0
	SETB 20H
	MOV R0, #30H
	RET
SETUP_OUTGOING:
	SETB P2.0
	CLR 20H
	MOV R0, #30H
	RET
END
//8051 C CODE
//UART DATA REPEATER

#include <reg51.h>

sbit LED = P2^0;
bit state = 1;
unsigned char pointer = 0;
unsigned char text[80];

void setup_incoming(){
	LED = 0;
	state = 1;
	pointer = 0;
}
void setup_outgoing(){
	LED = 1;
	state = 0;
	pointer = 0;
}
void interrupt_outgoing(){
	SBUF = text[pointer];
	if(text[pointer]==0x0A){
		setup_incoming();
	}
	else{
		pointer++;
	}
}
void interrupt_incoming(){
	text[pointer] = SBUF;
	RI = 0;
	if(text[pointer]==0x0D){
		text[pointer] = 0x0A;
		setup_outgoing();
		interrupt_outgoing();
	}
	else{
		if(pointer==78){
			text[79] = 0x0A;
			setup_outgoing();
			interrupt_outgoing();
		}
		else{
			pointer++;
		}
	}
}
void serial_interrupt() interrupt 4 {
	if(TI==1){
		TI = 0;
		if(!state){
			interrupt_outgoing();
		}
	}
	else{
		if(state){
			interrupt_incoming();
		}
		else{
			RI = 0;
		}
	}
}

void main(){
	setup_incoming();
	TMOD = 0x20;
	TH1 = 0xFD;
	SCON = 0x50;
	IE = 0x90;
	TR1 = 1;
	while(1){}
}
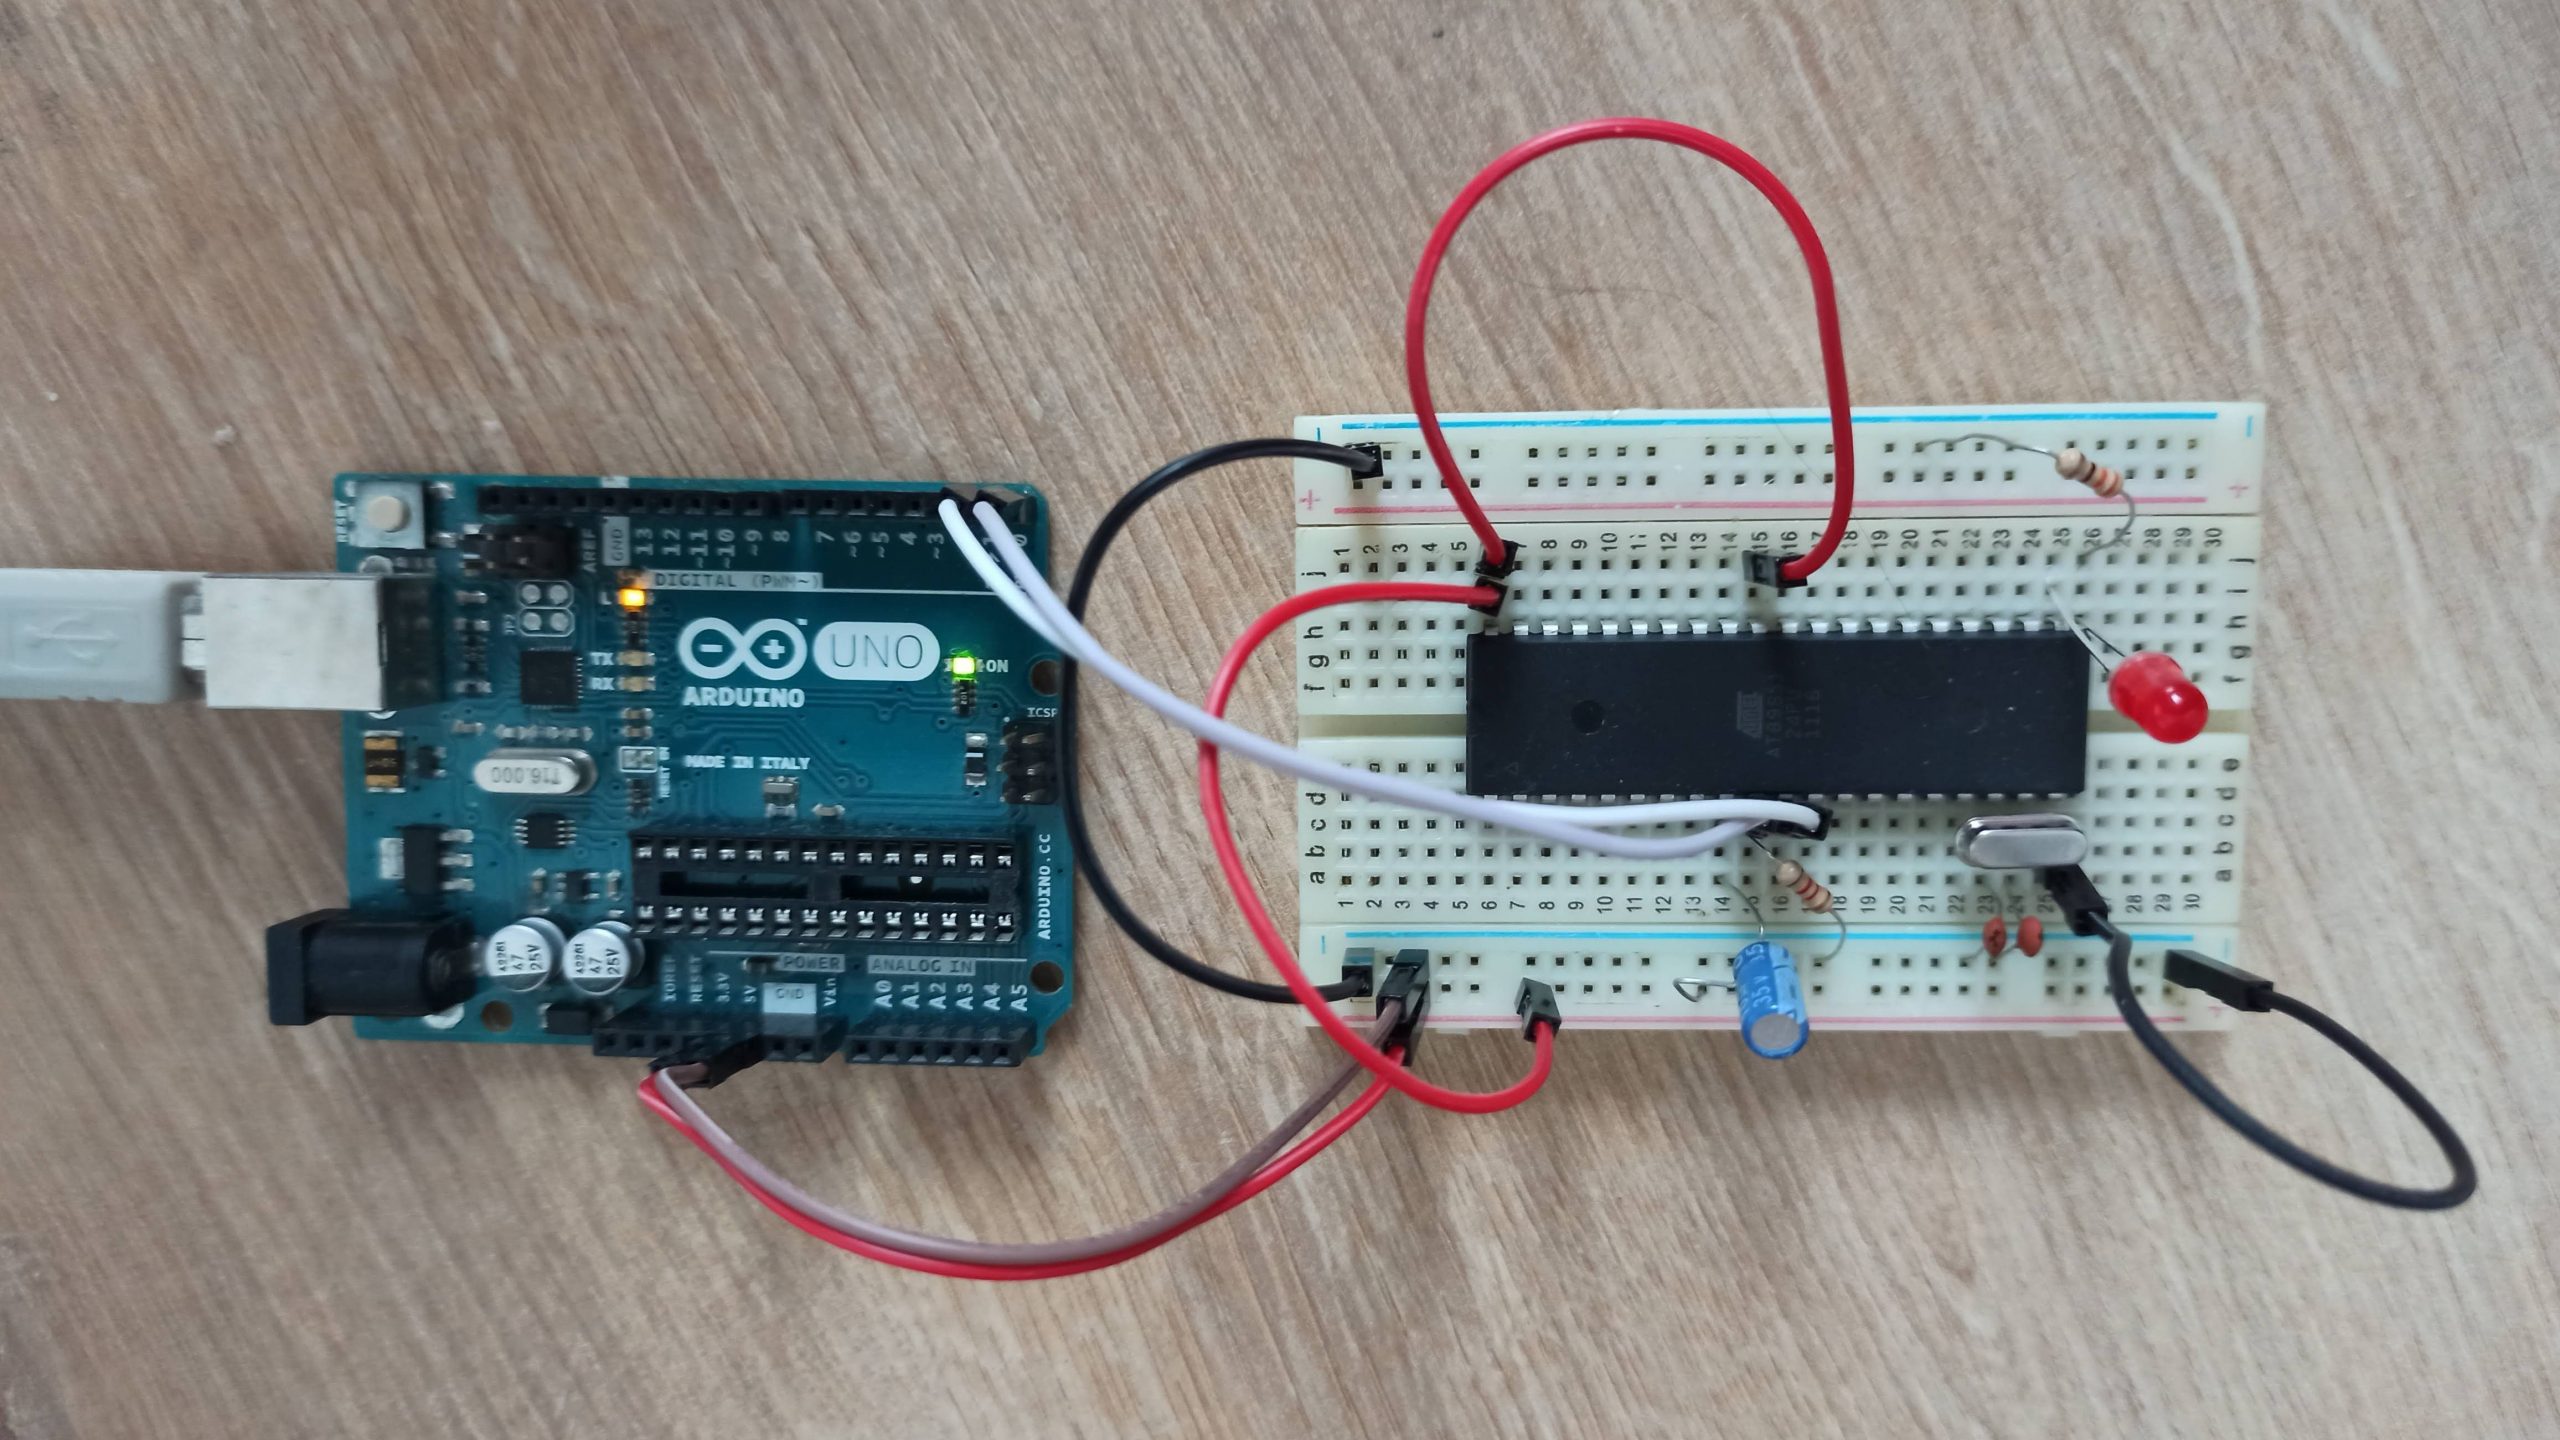
I’ve tested both codes on AT89S51 and verified their functionalities but, these codes comes with ABSOLUTELY NO WARRANTY. It is your own risk to use these codes in your applications.
You must use a 11.0592 MHz crystal on your own circuit to get a proper UART baud rate. Don’t forget to adjust the value of the TH1 register to get the intended UART baud rate on your own application.
I’ve used one Arduino UNO board -without Atmega328 IC- as a USB UART bridge and connected to it through PuTTY terminal software. If you don’t want to set up a physical circuit, you can try these codes on EdSim51 simulation software.
Note: Feel free to ask anything via email or comments which you don’t understand.